Enhancing the aesthetics of your home can be as simple as adding elegant details, such as quarter round molding. This subtle yet transformative addition can elevate the appearance of a room, providing a polished finish where the flooring meets the baseboard. We’re here to guide you through the process of gluing quarter round, ensuring a flawless quarter round installation that complements your interior decor.
Understanding Quarter Round Molding
Quarter round molding is a convex molding with a cross-section in the form of a quarter circle. It’s primarily used for its aesthetic appeal, camouflaging gaps and creating a seamless transition between different surfaces. The versatility of quarter round makes it suitable for various applications in home improvement projects.
The Role of Quarter Round in Finish Carpentry
In finish carpentry, quarter round serves not just a functional purpose, but also an ornamental one. It’s an essential element in the final stages of construction or remodeling, adding finesse and detail to the workmanship. Moreover, it protects the base of walls from wear, enhancing the durability of the interior.
Preparation for Installing Quarter Round
Before diving into the installation, careful planning and preparation are paramount. A successful quarter round installation begins with accurate measurements, selecting the best glue for molding, and gathering the necessary tools and materials for your DIY quarter round project.
Measuring for Quarter Round Installation
Accurate measurements are the cornerstone of any carpentry project. Measure the perimeter of the room to determine the total length of quarter round required. Always allow for a little extra material to account for any cutting errors or adjustments.
Choosing the Best Glue for Molding
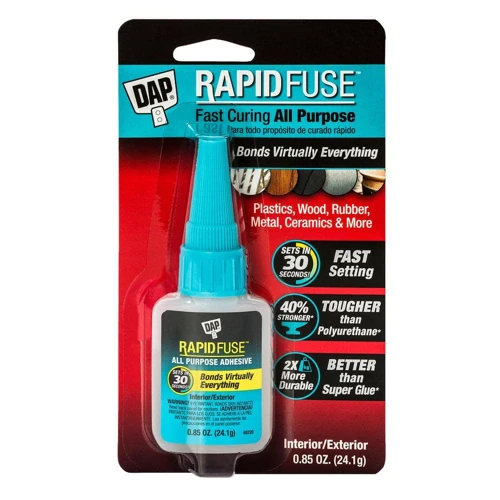
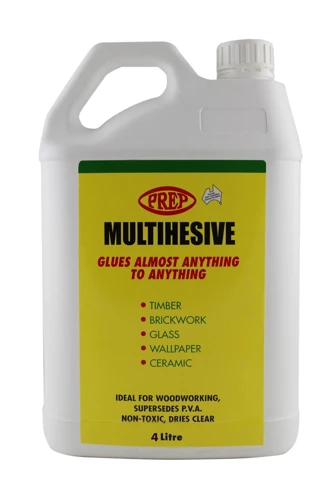
The adhesive you choose can make or break the success of your project. The best glue for molding should offer a strong bond, be easy to apply, and have a reasonable drying time. It must also be compatible with the materials of both the quarter round and the mounting surface.
Tools and Materials Needed for DIY Quarter Round
- Measuring tape
- Fine-tooth saw or miter saw
- Quarter round adhesive
- Caulking gun (if using tube adhesive)
- Clamps
- Paint or stain (optional)
- Clean cloth
Cutting Quarter Round
Cutting quarter round requires precision and attention to detail. The cuts you make will define the quality of the finished look, so it’s crucial to approach this step with care and patience.
Marking and Measuring Techniques
Mark the quarter round molding carefully, using a pencil for visibility. Ensure your measurements are precise, considering the angles where pieces will join. Use a miter box or a power miter saw to achieve accurate angles, especially for corners.
Tips for Precise Cuts
To ensure clean, sharp cuts, use a fine-tooth saw and apply steady pressure. Cutting slowly can prevent splintering, resulting in a smoother edge. If using a miter saw, let the blade reach full speed before making contact with the wood.
Gluing Quarter Round
Gluing quarter round is a straightforward process; however, it requires meticulousness. A clean, secure bond will result in a more professional look and ensure the longevity of your quarter round installation.
How to Glue Wood Trim
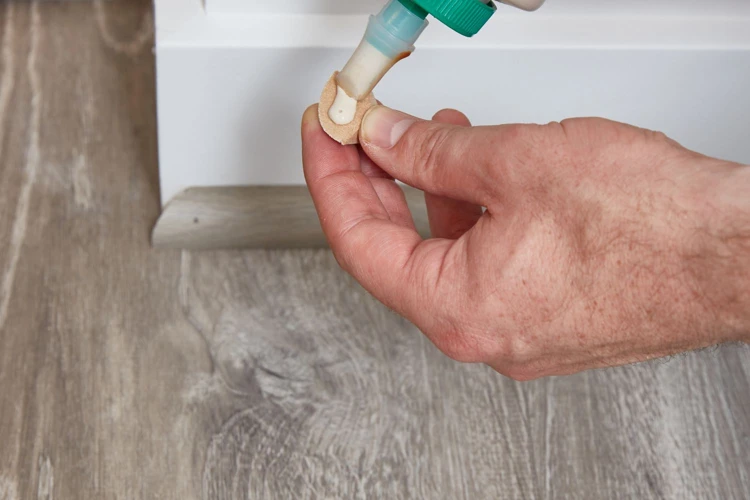
Preparing the surface is critical when learning how to glue wood trim. Ensure that both the wall and the quarter round are clean and dry. Apply a thin bead of quarter round adhesive along the back of the molding, being careful not to overapply.
Applying Quarter Round Adhesive
When applying the quarter round adhesive, maintain a consistent pressure on the caulking gun to ensure a steady flow. Work in manageable sections to prevent the adhesive from drying before the molding is positioned.
Installing Quarter Round Without Nails
Installing quarter round without nails can be advantageous, especially for renters or those looking to avoid damage to walls or floors. After applying the adhesive, carefully place the quarter round against the wall, aligning it with the floor for a snug fit.
Securing and Finishing the Installation
After gluing the quarter round in place, it’s necessary to secure it to allow the adhesive to set properly. This will ensure a tight bond and a clean, professional appearance.
Clamping and Setting the Quarter Round
Use clamps to hold the quarter round firmly against the wall while the adhesive cures. Check the manufacturer’s recommended drying time and adhere to it to prevent any movement that could weaken the bond.
Touching Up and Cleaning Excess Glue
If any adhesive oozes out from under the quarter round, wipe it off immediately with a damp cloth. Once the adhesive is fully cured, you can touch up any areas with paint or stain to match the existing baseboard molding.
Advanced Finish Carpentry Tips
For those looking to achieve a more refined look, there are advanced finish carpentry tips that can elevate the quality of your work.
Seamless Joints and Professional Edges
Achieving seamless joints starts with precise cutting. For a professional edge, sand any rough areas gently before gluing. If pieces meet in a straight run, cut the ends at a slight angle to help hide the joint.
Dealing with Corner and Angle Challenges
Corners and odd angles can be tricky. For inside corners, use a coping saw to shape the end of one piece to fit the contour of the other. For outside corners, miter cuts should be precise and may require slight adjustments for a perfect fit.
Maintenance and Care for Baseboard Molding
Once installed, maintaining your baseboard molding is essential to preserve its appearance and extend its lifespan.
Cleaning and Repairing Quarter Round
To keep your quarter round looking new, regular cleaning with a damp cloth can remove dust and debris. For repairs, use wood filler to address any dents or scratches, then finish with a matching paint or stain.
Long-term Care for Wood Trim
Periodic inspections can help catch any issues early, such as separation from the wall due to settling or moisture. Address these promptly with additional quarter round adhesive to maintain the structural integrity of the molding.
Conclusion
Installing quarter round can dramatically improve the look of your home. With the right preparation, tools, and techniques, this DIY project can be completed successfully, adding a touch of elegance to any space.
Review of DIY Quarter Round Installation
Throughout this guide, we’ve covered the essential steps of gluing quarter round — from preparation, cutting, and applying adhesive, to securing and finishing the installation. These steps, when followed with care, will enhance your finish carpentry skills and result in a beautiful, enduring addition to your home.
When it comes to DIY projects, knowing how to properly use and handle adhesives can make all the difference in the final result. If you’re looking to learn how to glue quarter round trim for a polished look in your home, you’ll definitely want to get the basics right. For those who want to explore more about adhesives and their applications, be sure to check out our guides on how to draw glue for planning out your projects, how to store CA glue to ensure your adhesives last as long as possible, and how to store lash glue for beauty enthusiasts looking to preserve their eyelash adhesive. Each guide provides valuable tips that can help you achieve the best results in your DIY endeavors.
Additional Resources and Guides
For more detailed information and advanced techniques, there are numerous resources available online. Carpentry forums, video tutorials, and manufacturer’s instructions can provide additional guidance to help you perfect your quarter round installation skills.


