The art of creating a vessel that can navigate the waters is a fascinating process, and the stitch and glue method has revolutionized wooden boat making. This technique streamlines the construction process, making it accessible for enthusiasts and professionals alike.
What is Stitch and Glue Boat Building?
Stitch and glue boat building is a simplified approach to constructing a watertight vessel. This method involves stitching plywood panels together and securing them with glue and epoxy for a strong, durable bond. It’s a popular choice for DIY boat building due to its efficiency and relatively easy learning curve.
Benefits of the Stitch and Glue Technique
One of the primary advantages of the stitch and glue method is its cost-effectiveness. It eliminates the need for a traditional frame, reducing material costs and labor. Additionally, it offers flexibility in design, allowing builders to create custom shapes and sizes that cater to their specific needs.
Essential Tools and Materials for DIY Boat Building
Embarking on your DIY boat building journey requires a well-prepared toolkit and the right materials. With these at hand, constructing a plywood boat becomes a manageable and rewarding project.
Gathering Your Supplies
- Marine-grade plywood
- High-quality epoxy resin
- Cable ties or copper wire for stitching
- Fiberglass cloth for reinforcement
- Protective gloves and safety glasses
Understanding Plywood for Boat Construction
Plywood is the cornerstone of stitch and glue boat design. It’s essential to choose marine-grade plywood that can withstand moisture and resist warping. The thickness of the plywood will depend on the design specifications and the intended use of the boat.
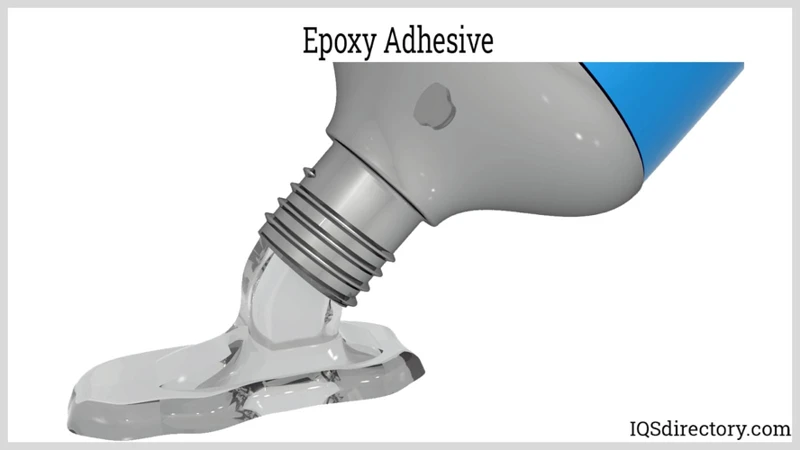
Choosing the Right Epoxy for Bonding
Epoxy plays a crucial role in epoxy bonding techniques. It’s vital to select an epoxy that’s specifically formulated for marine environments, offering robustness and stitch-glue waterproofing properties for a seaworthy craft.
Planning Your Stitch and Glue Boat Design
A well-thought-out plan is the blueprint of success in plywood boat construction. This stage lays the foundation for the entire building process, ensuring that the final product is both functional and visually appealing.
Selecting a Boat Design
Choosing the right stitch and glue boat design is pivotal. Consider factors such as the boat’s intended use, size, and the builder’s skill level. There are numerous plans available online, from simple flat-bottomed boats to more complex kayak building designs.
Customizing Your Boat Plans
Once a design is selected, customization can begin. Adjustments might be made for personal preferences in storage, seating, or overall aesthetics. This personal touch makes the vessel uniquely yours.
Preparing for Stitch and Glue Construction
Preparation is key in ensuring a smooth construction process. Taking the time to properly prepare the materials will save time and frustration later on.
Scarfing the Plywood Sheets
Scarfing involves joining plywood sheets to create longer panels. This is done by beveling the edges of the plywood sheets at an angle and bonding them with epoxy, creating a seamless and strong joint.
Marking and Cutting the Plywood
Accuracy is essential when marking and cutting the plywood. Use the boat plans as a guide to carefully measure and outline the shapes of the panels. Precision in this step ensures that the pieces fit together correctly during assembly.
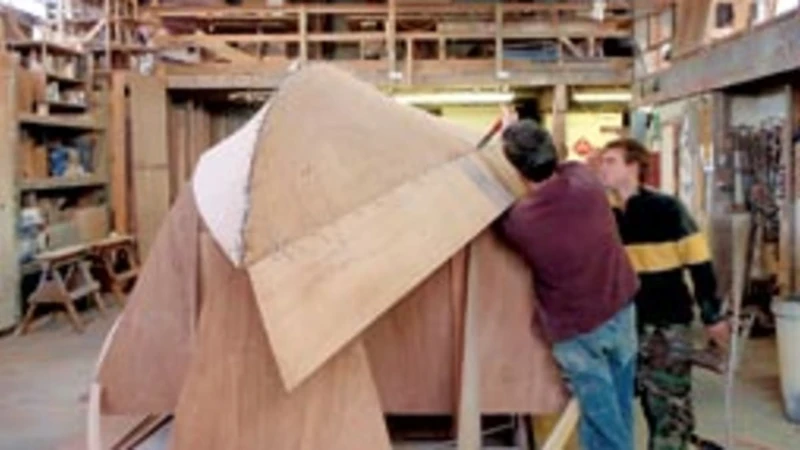
Assembling the Hull with Stitch and Glue Method
The excitement builds as the assembly of the hull begins. This is where the stitch and glue method truly shines, bringing the boat to life.
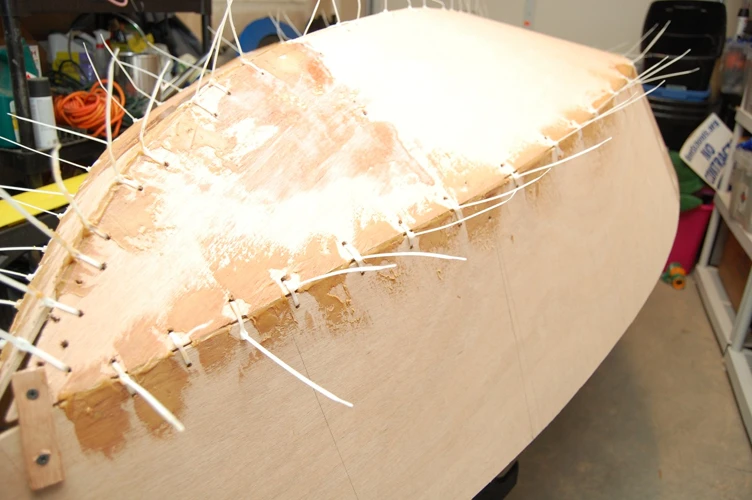
Stitching the Plywood Panels
Stitching is done by drilling small holes along the edges of the plywood panels and using cable ties or wire to “stitch” them together. This temporarily holds the shape of the hull while you apply the epoxy.
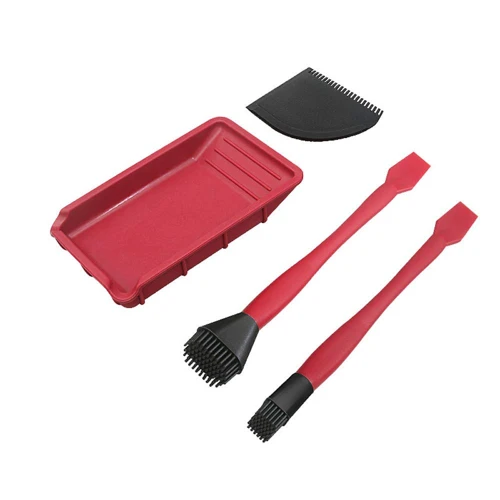
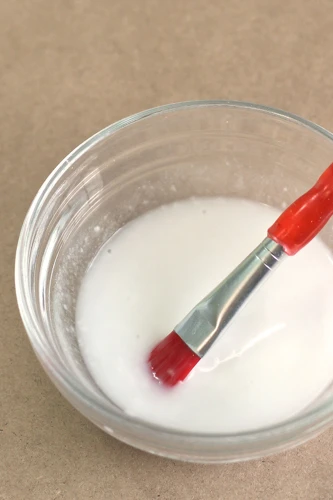
Mixing and Applying Epoxy
Mixing epoxy requires precise ratios for it to cure properly. Following the manufacturer’s instructions, mix the epoxy and apply it along the seams of the stitched plywood to create a strong bond.
Ensuring Proper Alignment and Waterproofing
During the curing process, it’s crucial to ensure the panels remain properly aligned. Use braces if necessary to maintain the shape. Once cured, additional epoxy can be applied to fully encapsulate the seams, enhancing the stitch-glue waterproofing.
Finishing Touches for Your Plywood Boat
With the structure in place, the focus shifts to the finishing touches that will protect and enhance the appearance of your vessel.
Applying Fiberglass for Strength
Fiberglass cloth is laid over the hull and coated with epoxy, creating a robust outer shell that adds strength and durability. This step is critical in reinforcing the boat’s structure.
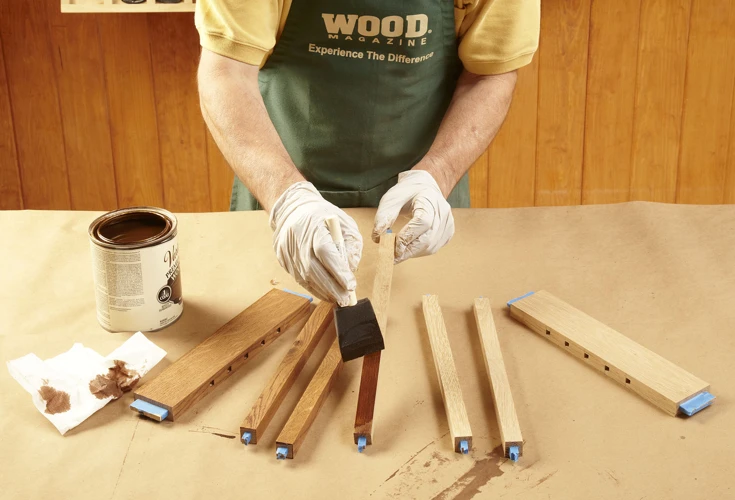
Sanding and Painting the Hull
Once the epoxy has cured, sanding smooths out any imperfections and prepares the surface for painting. Selecting a marine-grade paint will provide an attractive finish and additional protection from the elements.
Advanced Epoxy Bonding Techniques
For those seeking to further refine their boat building skills, advanced epoxy bonding techniques offer a way to enhance the craft’s integrity and longevity.
Creating Fillets and Epoxy Coatings
Fillets are thickened epoxy mixtures used to create smooth transitions between joints. Applying multiple coats of epoxy can also increase the boat’s resistance to water and impact.
Sealing the Boat for Durability
A well-sealed boat ensures longevity. Pay special attention to sealing the end grains of the plywood and any potential entry points for water. Proper sealing is the final defense against the harsh marine environment.
Stitch and Glue Tutorial for Specific Boat Types
Different types of boats require specific considerations during the building process. Adapting the stitch and glue method to suit these variations is key to a successful build.
Kayak Building with Stitch and Glue
Kayak building with the stitch and glue method offers a lightweight and streamlined craft. It requires careful attention to the shaping of the panels to achieve the desired hydrodynamics.
Homemade Canoe Crafting Using Stitch and Glue
Homemade canoe crafting using stitch and glue follows a similar process but may include wider panels and a more open design. The focus here is on stability and cargo capacity.
Maintenance and Care for Your Wooden Boat
With the boat completed, maintenance becomes the next priority. Regular care ensures that your handcrafted vessel remains in prime condition for years to come.
Routine Inspection and Maintenance Tips
Conduct routine inspections for any signs of wear or damage, especially after outings. Keep the boat clean, and apply a fresh coat of paint or varnish as needed to protect the wood.
Repairing and Upgrading Your Stitch and Glue Boat
If repairs are needed, address them promptly to prevent further damage. Upgrades such as adding hardware or improving seating can also be considered as you gain experience with your boat.
Conclusion: Launching Your DIY Boat
The journey from a stack of plywood to a fully functional boat is a testament to skill and perseverance. Launching your DIY boat is the culmination of hard work and passion for the craft.
Testing Your Boat’s Seaworthiness
Before taking your boat on extended excursions, test its seaworthiness in calm, shallow waters. Ensure it handles as expected and that there are no leaks.
If you’re interested in do-it-yourself projects that involve adhesives and crafting, you’ll find our resources very helpful. For boat enthusiasts looking to create their own kayak, our step-by-step guide on how to build a stitch-and-glue kayak is a must-read. Jewelry makers can enhance their craft with our article on how to glue jewelry, providing tips to ensure those gems stay in place. Furthermore, for a unique approach to hair styling, check out our instructions on how to make hair glue. Dive into these tutorials to master the art of stitching and gluing across different mediums and projects.
Enjoying the Fruits of Your Labor
Finally, enjoy the fruits of your labor. Whether it’s a leisurely paddle on a serene lake or an adventurous trip down a river, the experiences your homemade boat provides are the ultimate reward for your dedication to the craft.