Embracing the DIY culture has never been as chic and functional as it is with DIY glue on nails. This beauty solution offers a versatile and cost-effective alternative to salon visits, without compromising on the glamorous look of professionally done manicures. Crafting realistic fake nails at home is an achievable goal, whether you’re a seasoned nail enthusiast or new to the world of nail art. In this article, we’ll guide you through making your glue on nails look authentic, durable, and beautiful.
Selecting the Perfect Glue On Nails
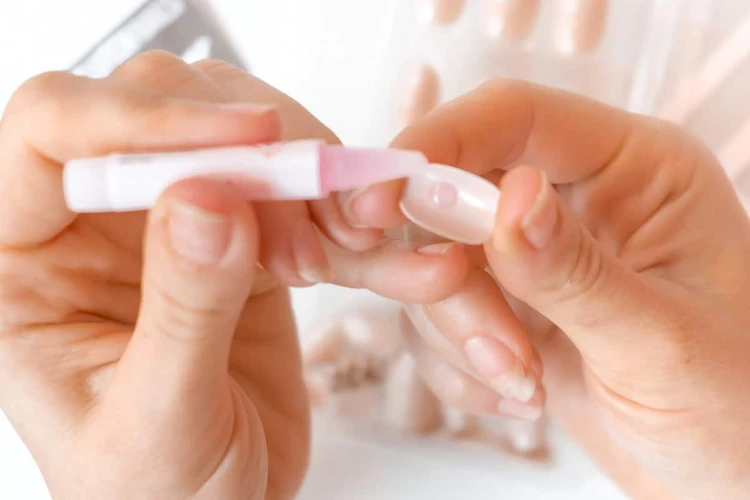
Finding the Right Size for a Natural Fit
To ensure your DIY glue on nails look as real as possible, selecting the correct size is crucial. Nails that are too wide or too narrow can look unnatural and may not adhere properly. Start by measuring your natural nails and comparing them to the sizes provided in the glue on nails kit. A perfect match will make the next steps much smoother.
Choosing the Proper Length for Your Lifestyle
Long claws or short, practical tips? Your lifestyle should dictate the length of your glue on nails. If you’re typing away at a keyboard or need more hands-on functionality, shorter lengths might be more suitable. However, if you’re aiming for a bold statement, longer nails can be your pick. Remember, the key is to balance style with comfort.
Customizing the Nail Shape to Match Your Cuticles
The shape of your faux nail customization plays a significant role in achieving a natural look. Compare the shape of your cuticles to the shape of the glue on nails. If they don’t match, you can file the base of the fake nail to mirror the curvature of your natural cuticle line, ensuring a seamless fit that looks just like your own nails.
Preparation for Applying Fake Nails
Cleaning and Prepping Your Natural Nails
Before you commence the fake nail application, it’s imperative to prep your natural nails. Begin by cleaning your nails with polish remover to eliminate any oils or residue. Push back the cuticles gently and buff the nail surface lightly. This preparation provides a clean canvas for the glue to adhere to, promoting long-lasting glue on nails.
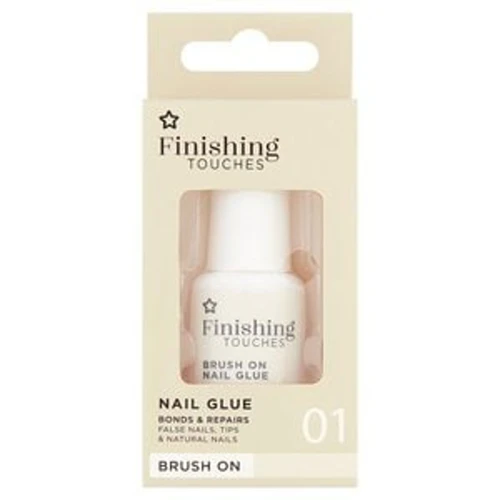
Selecting the Best Glue for Long-Lasting Adhesion
Choosing the right adhesive is a cornerstone for ensuring your DIY glue on nails stay put. Opt for a high-quality nail glue that promises strong bonding and longevity. A good glue prevents lifting and makes your faux nails feel like they’re your own.
The Application Process for Realistic Fake Nails
Step-by-Step Fake Nail Application
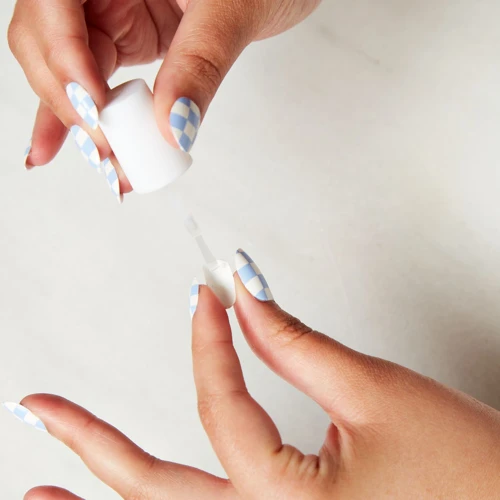
- Apply a thin layer of glue to the fake nail.
- Place the glue on the nail, aligning it with your cuticle line.
- Press down firmly for 10-15 seconds to ensure proper adhesion.
- Repeat with all nails, ensuring consistency in angle and pressure.
Glue on Nail Tricks for a Seamless Look
One of the essential glue on nail tricks is to avoid air bubbles by not applying too much glue. If the glue oozes out from the sides, it can be removed with a cotton swab dipped in nail polish remover. Also, applying a thin layer of glue to your natural nail can increase the bond, making the nails look more integrated with your natural nail bed.
Customizing Your Faux Nails for a Realistic Appearance
Filing for a Perfect Shape
After applying fake nails, file them into your desired shape. Whether you prefer a round, square, or almond shape, this step is crucial for personalization. File in one direction to prevent splitting and achieve a smooth edge that mimics the look of natural nails.
Blending Tips for Natural Looking Fake Nails
Blending the tips of your DIY glue on nails with your natural ones is key to an authentic look. You can lightly buff the seam where the fake nail meets the natural nail to create a smooth transition. Finish with a top coat to add shine and further blend the join, making the nails appear to be your own.
Ensuring Your Glue On Nails Last
Glue on Nail Care and Maintenance
Maintaining your nails is vital for their longevity. Avoid soaking your hands in water for extended periods and wear gloves when cleaning to protect the adhesive. Keep a nail glue handy for any minor repairs, and apply a fresh top coat every few days to keep your nails looking shiny and new.
Quick Fixes for Common Issues
Should a nail lift or break, a quick fix can save the day. Gently file away any lifted edges and reapply nail glue to secure the nail back in place. If a break occurs, you can often mend it with a small piece of tissue paper and nail glue, followed by a thin layer of top coat for smoothness.
If you’re exploring the world of DIY beauty and crafts, you may be interested in how to enhance your appearance with gems or create durable paper crafts. For those looking to adorn their face with a bit of sparkle, our tutorial on how to glue gems to your face is a must-read. Meanwhile, craft enthusiasts will appreciate our guide on how to make paper hard with glue for creating sturdy paper projects. But if you’re specifically focused on perfecting the art of faux manicures, you’ll want to dive into our detailed article on how to make glue on nails look real, ensuring your DIY nail application is flawless and convincing.
Conclusion: Enjoying Your Natural-Looking DIY Glue On Nails
With these steps and tips, your DIY glue on nails can rival any salon manicure in appearance and durability. Remember, the secret to natural looking fake nails lies in the preparation, application, and maintenance. Enjoy your beautiful, realistic fake nails and the compliments that are sure to come your way!