When it comes to crafting and DIY projects, the combination of different materials can lead to innovative creations. A common challenge, however, is understanding how to effectively glue foam rubber to wood. The process requires specific techniques and the right adhesive to ensure a strong, durable bond. In this comprehensive guide, we will navigate the steps and strategies for attaching foam to wood, making your next project a resounding success.
Choosing the Right Adhesive for Foam Rubber
Selecting an appropriate adhesive for foam rubber is crucial for achieving a secure bond with wood. The market offers a variety of options, each with unique properties that cater to different needs.
Best Glue for Foam Rubber
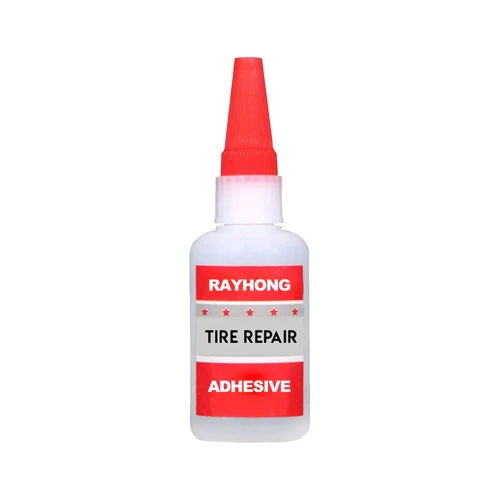
The best glue for foam rubber is one that forms a flexible bond without deteriorating the material. Look for adhesives specifically designed for foam or those labeled as multi-surface with low solvent content to avoid melting the foam. Contact cement, spray adhesives, and certain types of polyurethane glues are often recommended for their strong bonding capabilities and compatibility with foam rubber.
Foam Rubber Adhesive Techniques
Employing the right foam rubber adhesive techniques can enhance the bonding process. Even distribution of the adhesive, proper ventilation, and adhering to the manufacturer’s instructions are key factors. Additionally, certain adhesives may require a specific application method, such as spraying or brushing, to ensure optimal results.
Preparation for Attaching Foam to Wood
Preparing both the foam rubber and wood surfaces is essential before commencing the gluing process. This preparation ensures that the materials are clean, compatible, and ready for the adhesive application.
Materials and Tools Required
- Adhesive for foam rubber
- Wooden base
- Foam rubber
- Clean cloth
- Sandpaper (if necessary)
- Protective gloves
- Clamps or weights (for securing)
Surface Preparation Guide
Begin by cleaning the wood surface to remove any dust, grease, or residue. Sanding the wood can create a rougher texture for better adhesive grip. The foam rubber should also be dust-free and dry. It’s important that both surfaces are at room temperature for effective adhesion.
Step-by-Step Guide to Glue Foam Rubber to Wood
Now that the preparation is complete, it’s time to embark on the actual bonding process. Following these steps will help you achieve a strong and lasting bond between the foam rubber and wood.
Applying the Adhesive
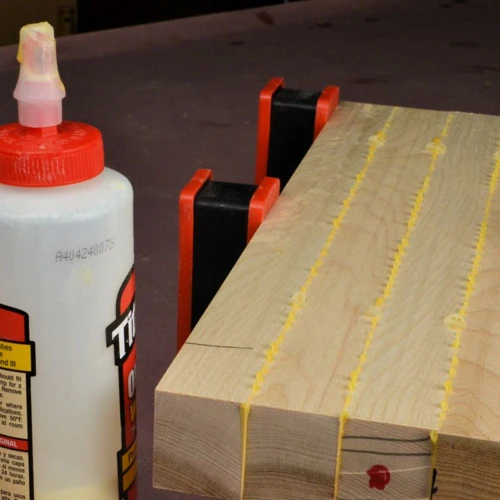
Apply the adhesive evenly across the wooden surface or as directed by the product instructions. If using a spray adhesive, maintain the recommended distance to achieve a consistent coat. For contact cement, apply to both surfaces and wait for the adhesive to become tacky before proceeding.
Securing the Foam Rubber in Place
Once the adhesive is tacky, carefully lay the foam rubber onto the wood. Start from one edge and gently press down to avoid air bubbles. If needed, use a roller or your hands to smooth out the foam across the wooden surface. Clamps or weights can be utilized to maintain pressure during the curing process.
Curing Time and Conditions
The curing time varies depending on the adhesive used. It’s paramount to refer to the manufacturer’s guidelines for the proper curing duration and conditions. Ensure the workspace is well-ventilated and maintain a consistent temperature for the best results.
DIY Foam Rubber Projects
With your newfound knowledge of bonding foam to wood, you’re ready to tackle various DIY foam rubber projects. Whether for home decor, functional items, or personal crafts, the possibilities are endless.
Woodworking with Foam Rubber
Woodworking with foam rubber allows for a soft, tactile element to be added to wooden creations. Consider making padded bench seats, headboards, or even custom tool organizers with your enhanced skills.
Foam Rubber Craft Ideas
Foam rubber craft ideas include decorative panels, playful stamps, or unique wall art. This versatile material can also be used in creating costumes, props, and other imaginative items that require a combination of wood and soft textures.
Troubleshooting Common Issues
Even with careful adherence to the process, you may encounter some common issues when working with adhesives. Let’s explore how to resolve these challenges.
Adhesion Failures
Adhesion failures often result from inadequate surface preparation or incorrect adhesive choice. To remedy this, ensure the surfaces are thoroughly prepped and select an adhesive that is compatible with both foam rubber and wood.
Glue Cleanup and Mistakes
For glue cleanup and mistakes, act swiftly. Use a solvent recommended by the adhesive manufacturer to remove excess glue without damaging the materials. Always wear protective gloves during this process to safeguard your skin.
Maintenance and Care for Foam Rubber Bonded to Wood
Maintaining the integrity of your project is crucial. Keep the bonded area clean, dry, and away from direct sunlight. If the item is subjected to regular use, periodically check the bond strength and apply additional adhesive if necessary.
Conclusion and Additional Tips
Successfully gluing foam rubber to wood can open up a new world of creativity and craftsmanship. With the right approach and attention to detail, your projects will not only look great but also stand the test of time.
Foam Rubber Glue Guide Recap
Remember, the key to a strong bond is choosing the proper adhesive, preparing the surfaces, and following the application and curing steps diligently. This foam rubber glue guide serves as your go-to reference for future projects.
When working on a project that involves adhering different materials together, it’s important to know the best methods to ensure a strong bond. If you’re looking to glue foam rubber to wood, you may find our detailed guide on how to glue foam rubber quite useful. For those who are specifically interested in attaching foam or rubber to wood surfaces, we’ve also prepared comprehensive articles detailing the processes for gluing foam to wood and gluing rubber to wood. These resources will provide you with the necessary steps and tips to make your DIY or craft project a success.
Further DIY Project Inspiration
If you’re seeking further DIY project inspiration, consider exploring online forums, craft blogs, or social media platforms where fellow enthusiasts share their experiences. With your new skills, the next project is just an idea away. Happy crafting!
