Embellishing wooden surfaces with cherished memories adds a rustic charm unlike any other decor. Gluing photos to wood is not only a creative way to display pictures, but it also transforms them into timeless keepsakes. Whether you’re crafting a personalized gift or decorating your home, mastering the technique of attaching photos to wood is essential. This guide will walk you through the process, ensuring that your photo to wood craft is successful and enduring.
Choosing the Best Glue for Photos on Wood
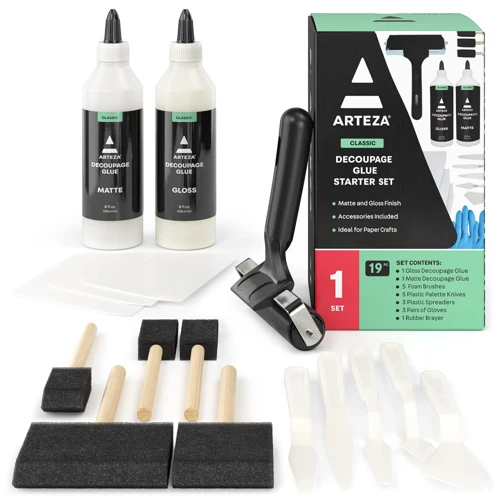
Before diving into your project, selecting the best glue for photos on wood is crucial. The adhesive should be strong enough to hold the photo in place and be compatible with both paper and wood. It should also dry clear to maintain the integrity of the image. Options range from PVA glue to mod podge, each offering different benefits. Consider the end use of your project and the look you desire when making your choice.
DIY Photo Wood Transfer: Step-by-Step Guide
Step 1: Preparing Your Wood Surface
- Clean the wood surface to remove any dust or debris.
- Sand the wood lightly if necessary to ensure a smooth base.
- Wipe it down with a damp cloth and allow it to dry completely.
Step 2: Selecting and Printing Your Photo
- Choose a high-resolution photo for clarity.
- Print the image on regular paper using a laser printer for best results.
- Remember to mirror the image if it contains text or is directional.
Step 3: Applying Adhesive for Pictures on Wood
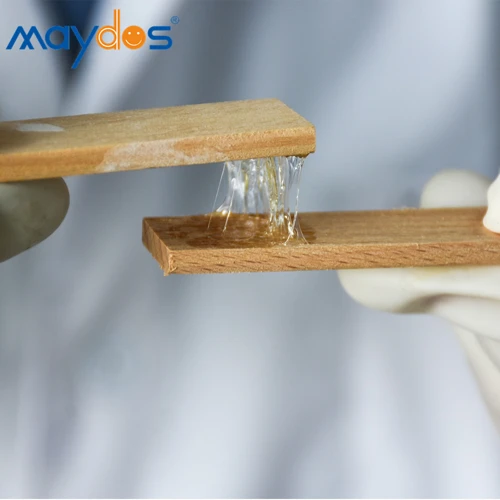
Apply an even layer of your chosen adhesive for pictures on wood over the surface. Ensure adequate coverage to avoid peeling edges or air pockets under the photo.
Step 4: Placing the Photo onto the Wood
Carefully position the photo on the wood. Once it is aligned correctly, press it down gently but firmly to adhere without shifting.
Step 5: Smoothing and Removing Bubbles
Use a flat tool, like a credit card, to smooth out the photo and remove any air bubbles. Work from the center outwards for the best effect.
Step 6: Sealing and Preserving Photos on Wood
Once the adhesive has dried, apply a sealer to protect the image. This step is vital for preserving photos on wood, especially if the piece will be handled frequently or exposed to the elements.
Alternative Technique: Photo Transfer to Wood
For a more integrated look, photo transfer to wood is an excellent alternative. This method embeds the image into the wood for a vintage, blended appearance.
Step 1: Choosing Your Image for Transfer
Select an image that will complement the natural grain and color of the wood for a harmonious result.
Step 2: Applying the Transfer Medium
Coat the printed side of your photo with a generous layer of transfer medium. This special adhesive is designed for transferring images from paper to other surfaces.
Step 3: Adhering the Photo and Letting It Dry
Place the photo face down onto the wood, smoothing out any wrinkles or bubbles. Allow it to dry completely, which usually takes several hours or overnight.
Step 4: Revealing the Transferred Image
Once dry, dampen the paper with water and gently rub it off to reveal the transferred image beneath. This process may need to be repeated to remove all paper residue.
Tips and Tricks for Successful Photo Wood Gluing
Photo Wood Gluing Tips for Best Results
- Choose the right adhesive based on your project’s needs and the finish you desire.
- Ensure the wood is properly prepared to provide a good bonding surface for the photo.
- Take your time when smoothing out the photo to avoid creases and bubbles.
- Seal the finished piece to protect against wear and environmental factors.
Wood Photo Project Ideas
Idea 1: Creating Personalized Photo Plaques
Transform a simple wooden plaque into a personalized piece by gluing a favorite photo and adding a varnish for a durable finish.
Idea 2: Making Photo Coasters on Wood
Protect your surfaces in style with custom coasters featuring family pictures or scenic shots, sealed with a waterproof layer.
Idea 3: Crafting a Photo Collage on a Wood Panel
Combine multiple photos on a large wood panel to create a stunning collage that tells a story and serves as a focal point in any room.
Materials and Tools Required
To get started, you’ll need wood surfaces, your chosen adhesive, a sealer, brushes, a laser printer, and images. Additional tools like sandpaper, a flat tool for smoothing, and perhaps a saw for customizing wood sizes may also be necessary.
Conclusion: Bringing Your Photo to Wood Craft to Life
With the right materials, a bit of patience, and a creative touch, you can bring the warmth of pictures and the natural elegance of wood together. Whether you opt for a direct gluing method or delve into the world of photo transfer to wood, the end result is sure to be a conversation starter. Enjoy the process and the unique outcome of your wood photo project ideas.
If you’re a craft enthusiast or simply love DIY projects, gluing photos to different surfaces can be a fun and creative activity. While you might be interested in how to adhere your favorite pictures to a wooden surface, don’t forget that there are other materials you can use as well. For more detailed guides, check out our step-by-step articles on how to glue photos to glass, how to glue photos to paper, and how to glue photos to canvas. Each tutorial will give you tips and techniques for ensuring your photos stay put and look great on any substrate you choose.
Frequently Asked Questions
Have questions about how to attach photos to wood? Find the answers to common queries below to ensure your project’s success.


