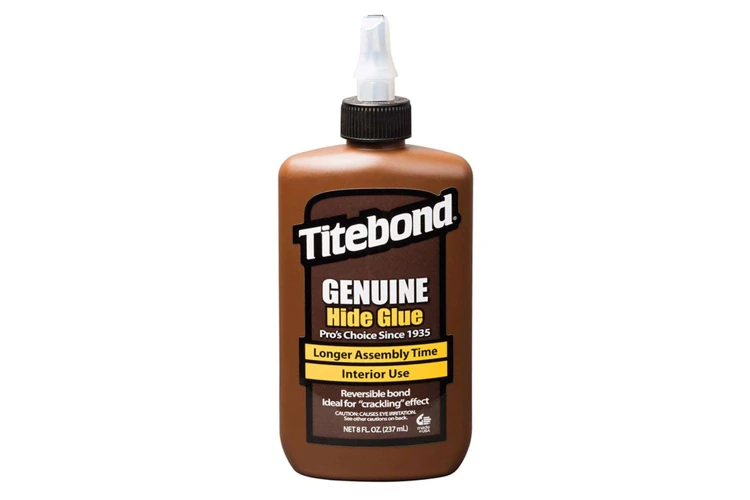
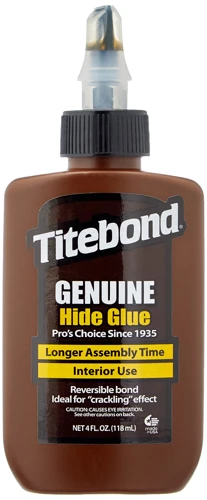
In the realm of woodworking, the resurgence of traditional materials has brought animal hide glue back into the limelight. This natural adhesive has been trusted for centuries to create durable and lasting bonds in various woodworking projects. Understanding its properties and how to utilize it effectively is key for any woodworker looking to harness the benefits of this time-tested material.
The Basics of Animal Hide Glue
Animal hide glue, as the name suggests, is sourced from the collagen within animal hides and bones. This protein-based substance, when heated, transforms into a gelatinous adhesive that can be applied to wood surfaces. Once cooled, it hardens, creating a strong bond that has been revered since ancient times for its reliability and reversibility.
Traditional Woodworking Glue and Its Uses
Traditional woodworking glue, namely hide glue, has been a staple in furniture making, restoration, and musical instrument construction. Its primary advantage lies in its ability to create tight joints without the need for nails or screws. Additionally, the characteristic of being reversible with heat and moisture makes it a favorite for antiques restoration, where future repairs may be necessary.
Hide Glue Application Techniques
Applying hide glue effectively requires a blend of skill and knowledge. Mastery of its application can significantly affect the hide glue drying time and the overall success of a woodworking project.
Preparing Surfaces for Using Hide Glue
- Clean the wood surfaces thoroughly, ensuring that they are free of dust and oils.
- Roughen the joining surfaces slightly to increase the adhesive contact area.
- Preheat the wood to help the glue flow more smoothly and bond quickly.
Best Practices for Hide Glue Application
Ensuring a successful bond with hide glue involves a few key steps. First, maintain the glue at the correct temperature — typically around 140°F (60°C). Use a brush or a spatizer to spread the glue evenly, working quickly to join the pieces before the glue cools and gels. Clamp the pieces firmly to ensure a tight bond while the glue sets.
Hide Glue Drying Time
One of the most common questions among woodworkers is how long hide glue takes to dry. The answer can vary depending on several factors, all of which must be considered for optimal results.
Factors Influencing Hide Glue Drying Conditions
The hide glue drying conditions are influenced by the ambient temperature, humidity, and the thickness of the glue layer applied. Higher humidity can prolong the drying process, while warmer conditions can speed it up. A thin glue layer will dry faster than a thick one.
Average Hide Glue Set Time
Typically, the hide glue set time ranges from a few minutes to an hour for the initial bond to form. However, it’s essential to allow the glue to dry completely, which can take up to 24 hours, depending on conditions and glue thickness.
Hide Glue Curing Time Explained
While drying time is crucial, the complete solidification of hide glue, known as curing, is what truly determines the strength of the bond. This process can be more extensive than simple drying.
The Stages of Hide Glue Curing
Hide glue curing time progresses through stages, starting with the initial gelation as the glue cools, followed by the evaporation of moisture and ending with the glue reaching full hardness. This entire process can extend well beyond the initial drying, taking several days to fully stabilize.
How To Tell When Hide Glue Is Fully Cured
To determine if hide glue has fully cured, inspect the bond line for any signs of moisture or softness. The glue should feel hard to the touch and show no signs of movement within the joint. If in doubt, allowing extra curing time is always better than rushing the process.
Maximizing the Effectiveness of Animal Hide Glue
To achieve the strongest and most durable bond, certain techniques can enhance the effectiveness of using hide glue in woodworking projects.
Woodworking Adhesive Drying Techniques
Accelerating the hide glue drying time can be achieved by gently heating the joint with a hairdryer or heat lamp, ensuring not to overheat or damage the wood. Additionally, maintaining an optimal workshop environment with controlled humidity can aid in consistent drying times.
Enhancing the Bond Strength
Bond strength can be improved by applying the right amount of glue, ensuring the wood surfaces are perfectly mated and clamped with the appropriate pressure. Time is also a friend of hide glue; allowing ample time for the glue to cure will result in a stronger bond.
Hide Glue Temperature Sensitivity
Temperature plays a crucial role in both the application and curing of hide glue. Understanding this sensitivity can help woodworkers manipulate conditions to their advantage.
Optimal Conditions for Hide Glue Curing
The optimal conditions for hide glue curing are a consistent temperature range of 70–80°F (21–27°C) with moderate humidity. These conditions provide the best environment for the glue to set and cure evenly.
Temperature’s Impact on Drying and Curing Times
Temperature variations can greatly affect the drying and curing times of hide glue. Cold conditions can slow down the process, while excessive heat can cause the glue to become brittle and weaken the bond over time.
Troubleshooting Common Issues with Hide Glue
Even with the best practices, woodworkers may encounter issues with hide glue. Knowing how to troubleshoot can save a project from potential failure.
Addressing Slow or Incomplete Drying
If the hide glue drying time is unusually slow, consider increasing airflow or lightly warming the joint. Check the humidity levels as well, as high moisture in the air can impede drying.
Preventing and Fixing Weak Bonds
Weak bonds can be addressed by carefully reheating and re-clamping the joint. Ensure that surfaces are properly prepared and that the glue is applied at the correct temperature for a stronger re-bond.
When working on various DIY projects, understanding the drying time for different adhesives can be crucial for achieving the best results. If you’re using hide glue for your woodworking or restoration tasks, you might be curious about the drying time specific to this natural adhesive. For insights into similar adhesives, you may want to explore our resources on how long it takes for other glues to set. We have detailed guides on the drying times for leather glue, which is often used in upholstery and leather goods repair, as well as information on shoe glue, a common choice for fixing footwear. Additionally, our article on craft glue will be helpful if you’re tackling various art and craft projects. Each type of glue has its own setting time and characteristics, so be sure to check them out for your specific needs.
Conclusion: The Role of Hide Glue in Modern Woodworking
Despite the advent of modern synthetic adhesives, the role of hide glue in modern woodworking remains significant. Its unique properties, such as reversibility and natural composition, make it an invaluable resource for woodworkers who value traditional techniques. By understanding the intricacies of hide glue application and the factors that affect its drying and curing times, craftsmen can continue to produce works of enduring quality and charm.


