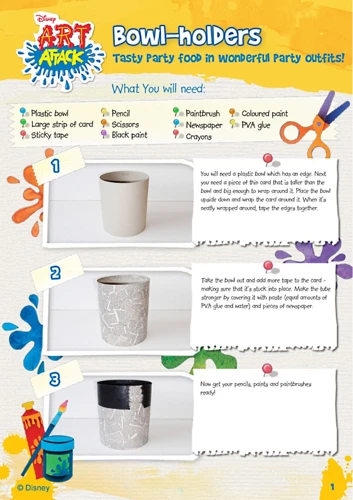
Creating memorable art pieces often involves more than just creativity; safety and health also play pivotal roles, especially when it comes to children. This is where Art Attack glue making comes into the picture, offering a fun and secure way to bond materials together without the worry of harsh chemicals.
Understanding Art Attack Glue
Art Attack glue is a term that represents a homemade adhesive, often made with ingredients safe for all ages. It’s a solution for those seeking an alternative to store-bought glues, which may contain substances not ideal for young, sensitive skin or those with allergies.
The Importance of Safe, Non-Toxic Adhesive for Kids
When it comes to crafting with little ones, the significance of using a safe glue for kids cannot be overstated. Crafting should be an activity free from worry, and utilizing a non-toxic adhesive ensures that children can express their creativity without exposing them to potential toxins.
DIY Glue Recipe: A PVA Glue Alternative
Discovering a reliable PVA glue alternative is simpler than one might expect. With a few common household items, anyone can prepare a robust adhesive that’s both effective and gentle.
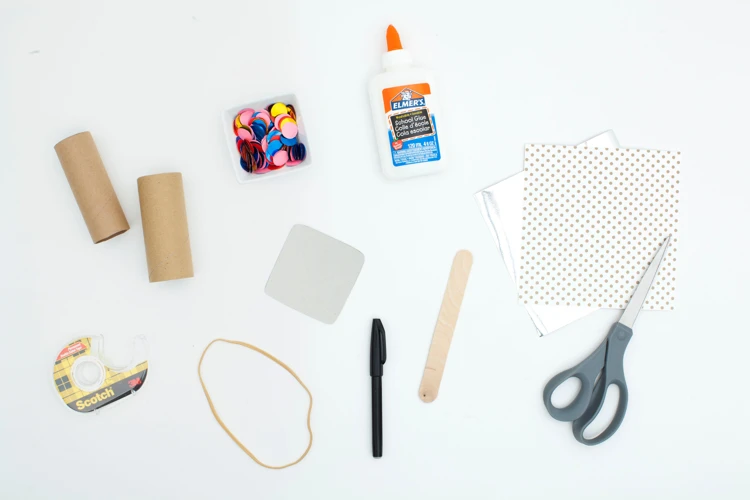
Gathering Your Art Supplies DIY
Before you begin, it’s essential to gather your art supplies DIY. This ensures a smooth and uninterrupted process as you mix and prepare your homemade concoction.
Homemade Glue Ingredients List
- Water
- Flour or cornstarch
- Sugar
- Vinegar (optional, as a preservative)
Step-by-Step Craft Glue Tutorial
With your ingredients ready, let’s dive into the craft glue tutorial, which will guide you through every step of creating your very own Art Attack glue.
Step 1: Mixing Natural Ingredients
Begin by combining one part flour or cornstarch with two parts water. Stir the mixture until it’s smooth and free of lumps, preparing it for the next phase.
Step 2: Cooking the Natural Glue Recipe
Transfer your blend into a saucepan and warm it over low heat. Keep stirring as it heats to prevent sticking and to ensure an even consistency throughout the natural glue recipe.
Step 3: Achieving the Right Consistency
The key to a successful DIY glue is consistency. As the mixture heats, it will begin to thicken. If it’s too thick, add a bit more water; if too thin, add a sprinkle more of your thickening agent.
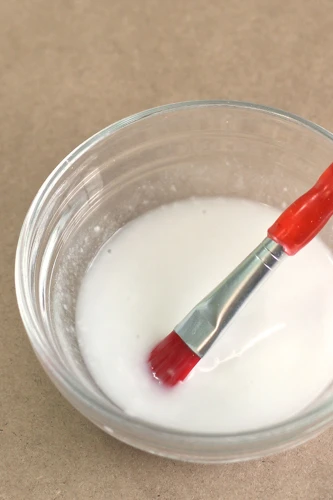
Step 4: Cooling Down Your Homemade Glue
Once you’ve obtained the desired thickness, remove the pot from the heat. Let your homemade glue cool down before transferring it to a container for use or storage.
Non-Toxic Adhesive: Safety Measures for Kids
While homemade adhesive is generally safer than commercial varieties, there are still precautions to take when crafting with children.
Ensuring a Safe Glue-Making Experience
Always supervise the glue-making process, especially when it involves heating ingredients. Additionally, double-check that all materials used are indeed non-toxic and safe for handling by little hands.
Storing Your Safe Glue for Kids
Label your glue container clearly and keep it out of reach when not in use. If you’ve added vinegar as a preservative, your glue can be stored in the refrigerator for several weeks.
Easy Glue Projects and Applications
Now that you have a batch of safe, homemade glue, it’s time to put it to the test with some imaginative endeavors.
Fun Art Attack Projects with Your DIY Glue
From paper mache sculptures to collages, your easy glue projects can take any form. Encourage kids to experiment with different materials, creating unique tactile experiences.
Using Your Craft Glue in Educational Activities
Integrate your adhesive into learning experiences. Whether it’s a geography puzzle or a math-related construction, your DIY glue can enhance the educational value of craft time.
Tips for Perfecting Your Art Attack Glue Making
As you become more familiar with the glue-making process, you can begin to tailor the adhesive to your specific needs.
Adjusting Thickness and Stickiness
By playing with the proportions of ingredients, you can create a thicker or runnier glue. Remember, the goal is to find a balance that works best for your particular project.
Long-term Storage Tips for Homemade Glue
To extend the shelf life of your glue, ensure it’s stored in an airtight container. You can also add a few drops of essential oils or lemon juice to help prevent mold growth.
Common Questions About Making Art Attack Glue
It’s natural to have queries when trying something new. Let’s address a couple of the most common questions about homemade adhesives.
FAQ: Homemade vs. Commercial Glue
One might wonder how homemade glue stacks up against its commercial counterparts. While store-bought glue may be stronger, DIY options offer safety and the satisfaction of making it yourself.
FAQ: Troubleshooting Your DIY Glue Recipe
If your adhesive doesn’t come out as expected, consider the ingredients’ ratios. It may take a few tries to perfect the recipe to your liking.
Are you a DIY enthusiast looking to create your own adhesives for art projects? Look no further! Our blog has a variety of articles on making different types of glue. For those interested in creating a versatile paste perfect for art attacks, check out our guide on how to make Art Attack glue paste. If you’re more into classic adhesives, our tutorial on how to make school glue will be right up your alley. And for the crafters who need something stronger, our step-by-step instructions on how to make glue with a glue gun could be just what you need for those heavy-duty projects. Get ready to stick to creativity with these homemade glue recipes!
Conclusion: Embracing Art Attack Glue in Creative Projects
Embracing the world of Art Attack glue making opens up a universe of possibilities for safe, enjoyable crafting. With your DIY adhesive at the ready, the only limit is your imagination.