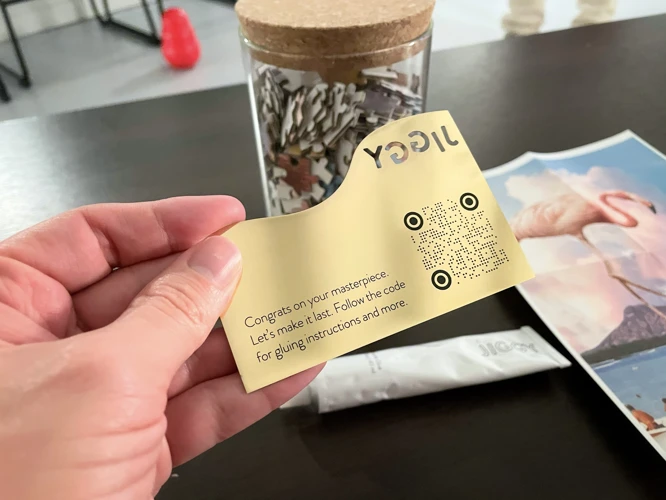
For puzzle enthusiasts, completing a Jiggy puzzle is a rewarding experience. But what comes next? Glueing puzzles together not only immortalizes your achievement but also allows you to display your work as art. Understanding how to glue jiggy puzzle pieces can transform your finished puzzle into a lasting keepsake. Whether you’re a seasoned puzzler or a beginner, this guide will walk you through the process, ensuring your masterpiece stays intact for years to come.
Jiggy Gluing Instructions
Preparing Your Workspace
Before you start the glueing process, it’s essential to prepare your workspace. Choose a flat, clean surface that’s large enough for your puzzle and cover it with a protective sheet or wax paper to prevent glue from sticking to the surface. Ensure your completed puzzle lies flat, and remove any dust or debris from the puzzle’s surface to guarantee a smooth glue application.
Applying Jiggy Puzzle Glue Instructions
Applying glue to your Jiggy puzzle is a delicate task. Start by carefully reading the jiggy puzzle glue instructions that come with your adhesive. Generally, you’ll spread a thin layer of glue across the puzzle’s surface, extending to the edges. Use a glue spreader or a piece of cardboard to distribute the glue evenly. Allow the first coat to dry completely before deciding if a second coat is necessary. Patience during this stage is key for the best results.
Puzzle Guard Directions for Jiggy Puzzles
Securing the Edges
- Gently apply glue along the puzzle’s edges.
- Press down lightly to ensure the edges stick together firmly.
- Allow sufficient drying time as per the puzzle guard directions.
Preserving the Puzzle’s Integrity
Preserving the integrity of your Jiggy puzzle is about more than just adhesive; it’s about technique and care. Follow the puzzle guard directions closely to ensure that each piece remains secure. If you notice any pieces lifting or the edges curling, apply additional glue as needed and weigh down the problem areas with a flat, heavy object until the glue sets.
Finalizing and Framing Your Glued Jiggy Puzzle
Once your Jiggy puzzle is securely glued and dry, it’s time to finalize your project. Carefully transfer the puzzle to a backing board cut to the exact size of your puzzle. This step will provide stability for framing. Choose a frame that complements your puzzle’s aesthetic and mount it behind glass to protect your artwork from dust and fading. Your glued Jiggy puzzle is now ready to be showcased!
Troubleshooting Common Gluing Issues
Glueing puzzles isn’t without its challenges. If you encounter any issues, such as bubbling, warping, or pieces not sticking, don’t despair. These problems are often fixable with a little extra glue or by applying weight to the area until the glue dries. Remember to always allow ample drying time between each step to minimize complications.

