Embarking on a fresh coat of paint can transform any room, but the secret to a flawless finish lies within the interior wall preparation for painting. Prepping your walls meticulously can mean the difference between a paint job that looks professional and one that falls flat. Here are five comprehensive tips for painting prep tips to help ensure your walls are perfectly primed for their transformation.
Interior Wall Preparation for Painting: Overview
Interior wall preparation for painting is all about creating a smooth, clean base for your paint to adhere to. Proper preparation can prevent peeling, bubbling, and uneven color distribution. It’s a series of steps that involves cleaning, smoothing, and priming your walls to create the ideal painting surface.
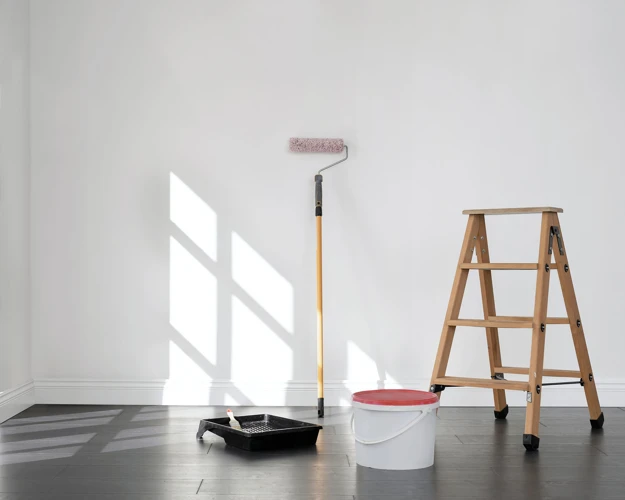
Painting Prep Tips: The Tools You’ll Need
Before you dive into how to prepare walls for painting, let’s talk tools. You’ll need a variety of items to ensure your wall painting preparation is thorough:
- Drop cloths or plastic sheeting
- Painter’s tape
- Screwdriver for removing fixtures
- Putty knife and spackling paste for patching holes
- Fine-grit sandpaper or a sanding block
- Sponge and mild detergent for cleaning
- Quality primer
- Paint brushes and rollers
Step-by-Step Guide on How to Prepare Walls for Painting
1. Clear the Room and Protect Your Space
The initial step in preparing interior walls is to clear the room of furniture and any other items that could hinder your workspace. Once the room is empty, use drop cloths or plastic sheeting to protect the floors and any remaining fixtures. Painter’s tape is perfect for securing the sheeting and also comes in handy for protecting trim and molding.
2. Wall Painting Preparation: Remove Fixtures and Repair Damages
Wall preparation before painting requires attention to detail. Begin by removing light fixtures, outlet covers, and nails. After stripping the wall of these items, inspect the surface for any holes, dents, or cracks. Using a putty knife, apply spackling paste to these areas to fill them in. Once the spackling has dried, sand it down to create a smooth, even surface.
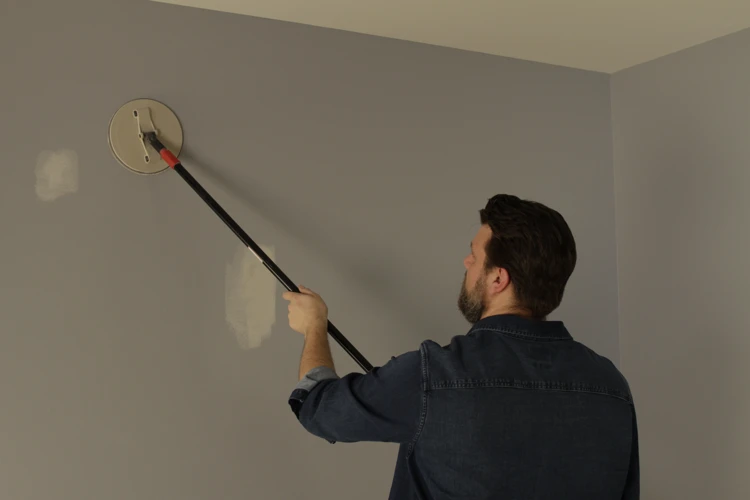
3. Sanding: A Crucial Step in Wall Preparation Before Painting
Sanding is pivotal in the quest for smooth walls. Use fine-grit sandpaper to gently abrade the walls. This process not only smooths any spackling but also roughens up the existing paint, providing a grippier surface for the new coat of paint. Remember to sand lightly to avoid creating more work by damaging the wall’s surface.
4. Ensuring Cleanliness: Wash the Walls
After sanding, walls need to be cleaned to remove dust and grime. A sponge with a mild detergent and water will suffice. Washing the walls ensures that paint will adhere properly and not trap any particles beneath it. Allow the walls to dry completely before proceeding to the next step.
5. Prime Time: The Importance of a Quality Primer
Applying a quality primer is the final step in paint prep interior walls. Primer not only covers up stains and dark colors but also provides a uniform base that enhances the true hue of your paint. For best results, choose a primer that’s compatible with your paint type and let it dry according to the manufacturer’s instructions.
Interior Painting Tips: Techniques for the Best Outcome

Tips for Painting Walls: Brush and Roller Techniques
When it comes to the act of painting interior walls tips, technique matters. Cut in around the edges of the room with a brush first, then use a roller for the larger areas. To avoid roller marks, paint in small sections and maintain a wet edge by working from one wet section to the next.
Painting Interior Walls Tips: Achieving a Smooth Finish
Achieving a smooth finish is the goal of any paint job. To do this, avoid overloading your brush or roller with paint, which can lead to drips and uneven application. Also, roll in a ‘W’ or ‘M’ pattern for even distribution and to avoid streaks.
Advanced Tips: Paint Prep Interior Walls for Different Surfaces
Preparing Interior Walls After Wallpaper Removal
When preparing interior walls after wallpaper removal, you may encounter adhesive residue. Use a solution specifically designed to remove wallpaper glue and make sure the wall is completely clean and smooth before painting. Any left-behind adhesive can cause the paint to not adhere properly or look uneven.
Prepping High Sheen Surfaces for Repainting
High sheen surfaces such as glossy paints or finishes require extra attention during wall preparation before painting. Sanding is particularly important on these surfaces to de-gloss and help the new paint adhere. Wiping the walls down after sanding is also crucial to remove any lingering dust particles.
How to Prepare New Plaster and Brick Walls for Painting
New plaster and brick walls have their own set of challenges when it comes to paint prep interior walls. For new plaster, ensure it is fully cured and dry before applying a sealing primer. For brick walls, clean any debris and apply a primer that is specifically formulated for masonry. These steps will ensure better paint adhesion and a lasting finish.
When it comes to giving your home a fresh new look, painting the interior walls can make a significant impact. However, the key to a flawless paint job is all in the preparation. If you’re planning a paint project, don’t miss our comprehensive guide on the 5 steps to prepare for exterior painting, which can also provide valuable tips for interior projects. For those looking to add a creative touch with different colors, our article on preparing walls for color blocking is a must-read. And finally, to ensure that you select the right sheen and durability for your space, check out our insights on how to choose the perfect paint finish for interior walls. Get ready to transform your space with these expert tips!
Conclusion: Ensuring Professional-Quality Results

By following these interior painting tips, you can ensure a professional-quality finish that will last for years. Proper wall painting preparation is the cornerstone of a successful paint job, and with these steps, you’ll be well on your way to a beautiful, freshly painted interior. Whether you’re a seasoned DIY enthusiast or a first-time painter, these tips for painting walls will serve as your guide to achieving walls that wow.