Decoupage on wood is a time-honored craft that blends artistic expression with functional design. This technique allows you to personalize wooden objects with patterns, imagery, and textures that can transform the mundane into the extraordinary. By adhering paper cutouts to wood and then sealing them, you create a piece that is both visually appealing and durable.
Understanding Decoupage and PVA Glue Crafts
At the heart of decoupage and PVA glue crafts is the simple yet powerful idea of layering. PVA glue, a versatile adhesive, is a key component in this process. It acts as both a glue to stick paper onto the wood surface and a sealant to protect the finished work. Decoupage is a forgiving craft, making it ideal for both beginners and seasoned crafters.
Materials Needed for DIY Decoupage on Wood
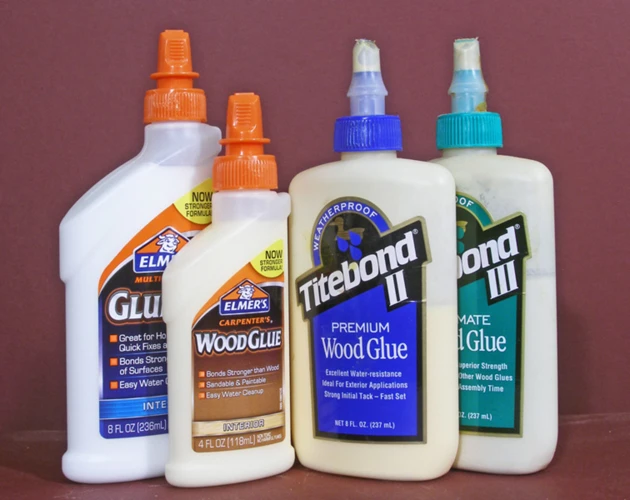
Choosing the Right PVA Glue for Decoupage
- Look for a PVA glue that dries clear and has a matte or gloss finish, depending on your preference.
- Ensure the glue is suitable for use on wood and paper materials.
Other Essential Supplies for Wood Crafting
- Wooden item to decoupage
- Decoupage paper or lightweight fabric
- Scissors or a craft knife
- Foam brushes or paintbrushes
- Fine-grit sandpaper
- Base coat paint (optional)
Preparation: Getting Your Wood Ready for Decoupage
Cleaning and Sanding the Wood Surface
Start by thoroughly cleaning the wood to remove any dust or grease. Then, gently sand the surface with fine-grit sandpaper to create a smooth base for your decoupage.
Applying a Base Coat
If desired, apply a thin base coat of paint to the wood before beginning the decoupage process. This can help colors pop and ensure a uniform background.
The Decoupage Process: A Step-by-Step Tutorial
Selecting Your Decoupage Paper
Choose paper that complements the wood item you’re working on. Consider the scale of the pattern in relation to the size of your project.
Applying PVA Glue and Paper to the Wood
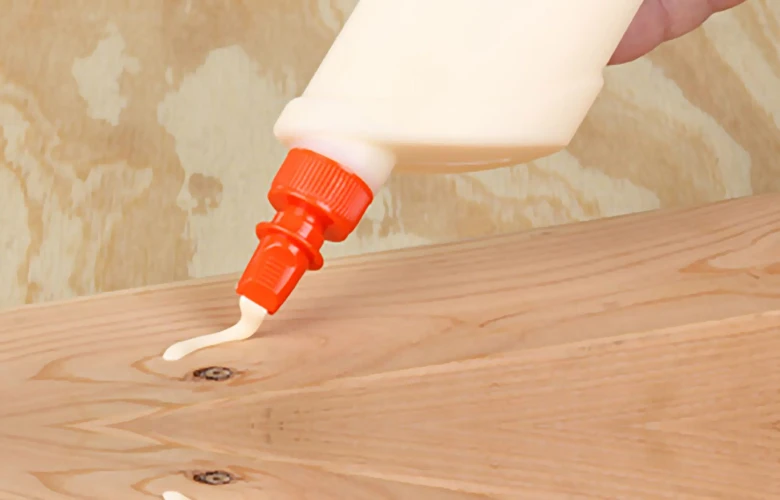
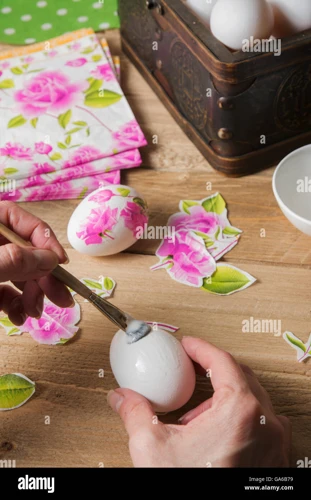
Brush a thin layer of PVA glue onto the wood, place your paper cutout on top, and smooth it out. Apply another layer of PVA glue over the paper to seal it.
Decoupage Techniques for a Smooth Finish
Use a soft brush or sponge to gently push out any air bubbles. Work from the center toward the edges for the best results.
Sealing and Protecting Your Decoupage Project
Using PVA for Decoupage Sealing
After the initial layers of PVA glue have dried, apply multiple thin coats to build up a protective seal over your decoupage work.
Adding Durability with Varnish or Sealant
For extra protection, especially on items that will be handled frequently, consider applying a clear varnish or sealant over the dried PVA layers.
Homemade Decoupage: Crafting with Personal Touch
Creating Your Own Decoupage Designs
Experiment with printing your own designs or using photographs to create a more personalized decoupage piece.
Mixing Custom PVA Glue Formulas
Some crafters like to mix additives into their PVA glue for different effects, such as adding glitter or tinting the glue with acrylic paint.
Advanced Decoupage Techniques for Wood Crafting
Layering and Texturing in Decoupage
Build up layers of paper or add textured materials like fabrics or lace to add dimension to your decoupage project.
Incorporating Mixed Media Elements
Mixing different materials, such as paper, fabric, and metal embellishments, can add complexity and interest to your decoupage on wood.
Troubleshooting Common Decoupage Issues
Handling Wrinkles and Air Bubbles
Use a brayer or a plastic card to smooth out wrinkles and bubbles as you apply the paper to the glue.
Dealing with Excess Glue and Dried Edges
Clean up any excess glue with a damp cloth before it dries, and gently sand any rough edges for a clean finish.
The Complete Decoupage Glue Guide
Comparing PVA Glue with Other Decoupage Mediums
While PVA glue is a popular choice, other mediums, such as Mod Podge or specialty decoupage glues, may offer specific benefits for certain projects.
When to Use Specialty Decoupage Glues
Consider specialty glues if you’re working with materials that require a stronger bond or a specific finish.
Finishing Touches: Enhancing Your Decoupage Art
Adding Decorative Elements
Embellish your decoupage with items like ribbons, beads, or stamps to add a unique flair to your creation.
Combining Decoupage with Other Crafting Techniques
Incorporate techniques such as painting, stenciling, or wood-burning to elevate the complexity and aesthetics of your decoupage work.
If you’re diving into the world of DIY and looking to master the art of decoupage on wood, understanding the right adhesive techniques is crucial. Our tutorial on how to glue PVC to wood can offer valuable tips that might also apply to working with PVA glue for decoupage projects. For those interested in combining different materials, our guide on how to glue laminate to wood is also a great resource. And if you’re feeling creative and want to include homemade slime in your crafts, check out our fun tutorial on how to make slime with PVA glue. With these resources, you’ll be well-equipped to create beautiful, durable decoupage art on wood surfaces.
Conclusion: Showcasing Your DIY Decoupage Creation
Once your piece is complete, display it proudly or gift it to someone special. The beauty of decoupage on wood is that each piece tells its own story and reflects the personal touch of its creator.


