When it comes to kitchen renovations, selecting the right sink is pivotal for both functionality and aesthetic appeal. An undermount sink provides a sleek and seamless look, merging effortlessly with your countertop. This guide will walk you through how to install undermount sink units, ensuring that your kitchen not only looks magnificent but also withstands the test of time.
Essential Tools and Materials
Before you embark on your DIY undermount sink project, gathering the necessary tools and materials is crucial. You’ll need a caulking gun, silicone sealant, clamps, a drill, screws, a saw for countertop modifications, and safety gear. Prepare your workspace by clearing the area and placing all tools within reach.
Best Adhesive for Undermount Sink
Choosing the best adhesive for undermount sink installation is key to a successful project. A high-quality silicone sealant or a two-part epoxy specifically designed for sinks is recommended. These adhesives provide a strong bond and are resistant to water and temperature changes.
Preparing for Installation
Proper preparation will simplify the installation process. Ensure the base cabinet can support the weight of the sink and that the countertop is ready for fitting. Measure twice to avoid mistakes and make sure everything aligns correctly.
Cutting and Cleaning the Countertop
For a precise fit, the countertop must be cut according to the sink’s template. After cutting, clean the edges and the surface to remove any debris. A spotless surface ensures better adhesive contact between the sink and countertop.
DIY Undermount Sink Installation Guide
Installing an undermount kitchen sink can be a rewarding DIY project. With attention to detail and the right approach, you can achieve a professional finish.
Gluing an Undermount Sink
Gluing an undermount sink is a critical step. Apply a bead of adhesive around the rim of the sink that will make contact with the countertop. Carefully position the sink and press it into place. Wipe away any excess adhesive before it dries.
Securing the Sink by Suspension
For added security, consider suspending the sink using bar clamps and a 2×4 across the top of the counter. This method holds the sink in place while the adhesive cures, ensuring a firm bond.
Installing over the Countertop
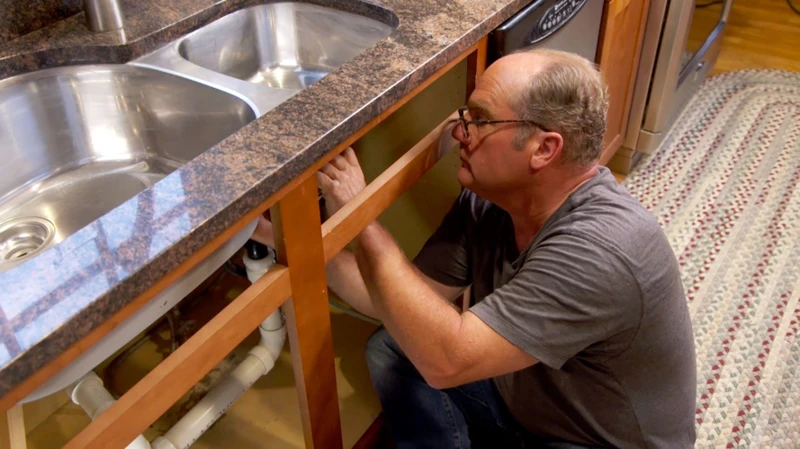
If you’re installing a heavier sink, it may be necessary to install additional support from below. This can involve attaching brackets or building a wooden frame that attaches to the inside of the cabinet.
How to Secure Undermount Sink
Ensuring that your sink is securely attached is essential for both safety and functionality. Once the adhesive has cured, you can add extra security by attaching mounting clips or brackets under the countertop, if your sink design allows for this.
Undermount Sink Mounting Techniques
Different undermount sink mounting techniques can be employed depending on the sink type and countertop material. It’s imperative to follow the manufacturer’s instructions for the best results.
Undermount Sink Adhesive Guide
An undermount sink adhesive guide can provide specific recommendations for the type of adhesive to use based on the materials of both the sink and countertop. Always choose an adhesive that offers durability and resistance to moisture.
Finishing Touches & Maintenance
Once your sink is installed, apply a bead of silicone around the perimeter where the sink meets the countertop to seal any gaps. Regular maintenance and prompt undermount sink repair will extend the life of your sink.
Undermount Sink Repair
If you notice any issues with your undermount sink over time, address them immediately. Repairing a loose sink may involve reapplying adhesive or reinforcing the mounting hardware.
Troubleshooting Common Issues
Should you encounter problems during your undermount sink installation, don’t panic. Common issues include misalignment or adhesive failure, which can often be remedied by adjusting the sink’s position or reapplying the adhesive.
Additional Tips and Warnings
When undertaking this project, always prioritize safety by wearing protective equipment. Additionally, avoid rushing the process. Allow adequate time for the adhesive to cure and check all connections before considering the job complete.
FAQs on Undermount Sink Installation
- How long does the adhesive take to cure?
- Can I install an undermount sink without professional help?
- What should I do if the sink begins to separate from the countertop?
Embarking on a DIY home improvement project can be both exciting and daunting. If you’re planning to install an undermount sink and need guidance on how to glue it properly, our step-by-step article on how to glue an undermount sink is the perfect resource for you. And for those of you tackling other home projects, we also have detailed guides on how to glue drywall, how to glue laminate flooring, and a more general overview on how to glue flooring. Each guide is designed to help you achieve professional-looking results in your own home upgrades.
Conclusion: Enjoy Your New Undermount Kitchen Sink
With your new undermount kitchen sink securely installed, you can enjoy the seamless integration and easy cleanup it provides. Regular maintenance will ensure that your sink remains a beautiful and functional part of your kitchen for years to come.