Diving into the world of DIY nail art can transform a simple manicure into a stunning masterpiece. It’s an exciting way to express creativity and add a touch of elegance or fun to your look. Whether you’re preparing for a special occasion or simply want to spice up your everyday style, mastering nail embellishment techniques is a valuable skill for any beauty enthusiast.
Understanding the Basics of Nail Embellishment Techniques
Nail art has evolved beyond simple polish. Today, it includes a variety of decorations such as glitter, foils, and, notably, gems. Gluing gems on nails is not only a popular trend but also an art form that adds texture and sparkle to your fingers. With the right tools and a bit of patience, anyone can elevate their nail game to dazzling new heights.
Preparation for Gemstone Nail Design
Before jumping into gemstone nail design, proper preparation is essential. Starting with a good foundation ensures that your nail art not only looks professional but also lasts longer.
Cleaning and Prepping Your Nails
Clean nails are the canvas for any great nail art design. Begin by removing any old polish and thoroughly cleaning your nails. Gently push back cuticles and buff the surface of your nails for an even texture. This helps the nail art adhesive to grip better, ensuring long-lasting gem adhesion.
Selecting the Right Gemstones for Your Design
Choosing gemstones is like picking the perfect accessories for an outfit. Consider the size, color, and shape of the gems based on the design you envision. Remember, the key is to complement your nail’s shape and size while showcasing your personal style.
Materials Needed for Applying Rhinestones to Nails
With your nails prepped, it’s time to gather the necessary materials. The right tools are crucial for a flawless application and finish.
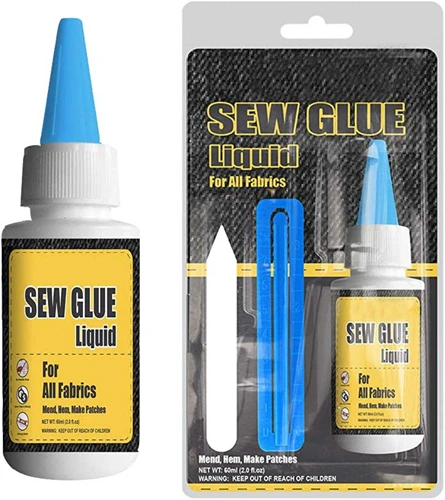
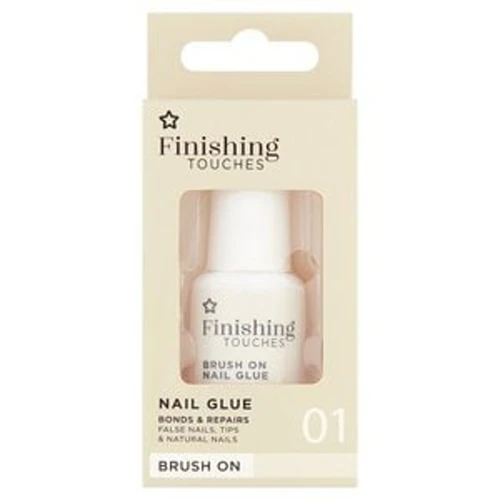
Choosing the Best Nail Art Adhesive
A strong nail art adhesive is the secret to secure and long-lasting gem adhesion. Opt for a specialized glue that is designed for nail jewelry application, as it will ensure that your gems stay put without damaging your natural nail.
Tools for Nail Jewelry Application
- Tweezers or a gem picker: For precise placement of the stones.
- Dotting tool: Useful for applying adhesive and creating designs.
- Top coat: To seal everything in place once you’re finished.
Step-by-Step Nail Art Tutorial for Glue Gems on Nails
Now, let’s delve into the creative process of applying rhinestones to nails with a detailed nail art tutorial.
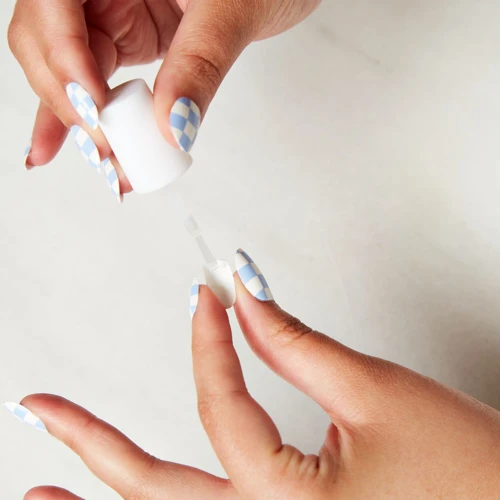
Step 1: Applying the Base Coat
A base coat not only protects your natural nails from staining but also provides a sticky layer for gems to adhere to. Apply a thin, even layer and let it dry completely before proceeding.
Step 2: Arranging Your Gemstones
Lay out your gemstones in the pattern or design you’ve chosen. This step is crucial for visualizing the final look and ensuring you have all the pieces you need at hand.
Step 3: Nail Art Adhesive Application
Using your dotting tool, apply a small dab of adhesive onto the nail where you want to place the gem. Be careful not to apply too much, as it can overflow and ruin the clean look of your design.
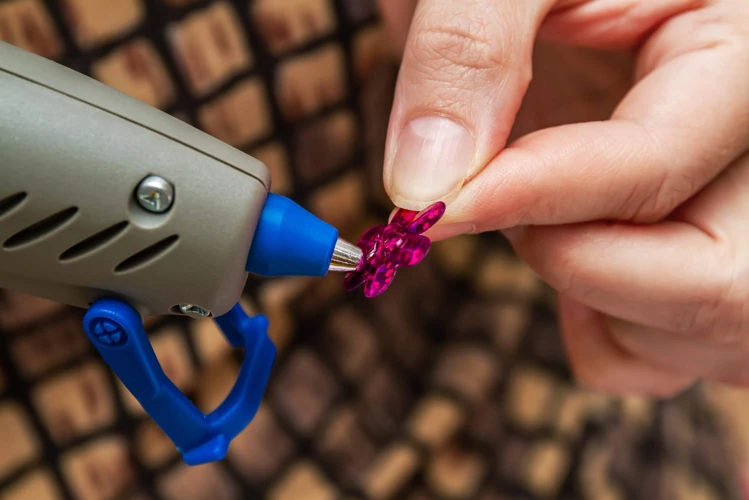
Step 4: Placing and Securing the Gems
Gently pick up a gem with your tweezers or gem picker and place it onto the adhesive. Press down lightly but firmly to secure the gem in place. Repeat this process until your design is complete.
Step 5: Ensuring Long-Lasting Gem Adhesion
Once all gems are in place, apply a top coat around (not over) the gems to lock in your design. This creates a seal that prevents the gems from getting caught and coming loose.
Advanced Techniques for Nail Design Ideas
As you become more comfortable with basic applications, you can experiment with advanced nail design ideas to truly make your gemstone nail design pop.
Incorporating Gemstones into Various Nail Art Styles
Explore combining gems with other nail art styles like marbling, ombre, or stamping. This fusion of techniques can produce a more intricate and unique look.
Creative Patterns and Combinations
Challenge your creativity by playing with different patterns and combinations. Geometric shapes, floral arrangements, and even abstract art can all be enhanced with the sparkle of gems.
Troubleshooting Common Issues
Even with careful application, issues can arise. Knowing how to address them will help maintain the beauty of your DIY nail art.
Preventing Gems from Falling Off
Ensure your adhesive is fresh and of high quality. Avoid using hand creams or oils that can weaken the bond between the gemstones and the nail surface.
Fixing Mistakes During Application
If a gem is misplaced or crooked, use the tip of your tweezers to gently nudge it into place before the adhesive dries. Remember, patience is key!
Aftercare for Gemstone Nail Design
After you’ve perfected your gemstone nail design, proper aftercare will make all the difference in its longevity.
Maintaining Long-Lasting Gem Adhesion
Avoid activities that can cause the gems to lift or become loose. Wearing gloves during household chores and being mindful of your nails will help protect your design.
When to Reapply or Remove Gems
If a gem does fall off, reapply it with the same process used initially. When you’re ready for a change, remove the gems gently using a cuticle stick, being careful not to damage the nail.
Conclusion
DIY nail art is a delightful way to showcase your personality and style. With these tips and techniques, gluing gems on nails is a process that anyone can enjoy and master.
Final Thoughts on DIY Gemstone Nail Art
Whether you’re a beginner or a seasoned nail art enthusiast, the addition of gemstones can take your designs to the next level. Patience, practice, and the right tools will ensure your nail art is both beautiful and enduring.
FAQs on Nail Embellishment Techniques
Finally, let’s address some common questions related to nail embellishment techniques to help you on your DIY journey.
Can You Use Regular Glue for Nail Art?
Regular glue is not formulated for use on nails and can damage both the natural nail and the gemstones. Always use a specialized nail art adhesive for best results.
If you’re looking to add some sparkle and creativity to your manicure, learning how to glue gems on nails can transform your nail art. For those who are new to DIY nail enhancements, our step-by-step guide on how to glue on nails can help you master the basics. And if you’re interested in customizing your look even further, don’t miss our tips on how to paint glue-on nails for a truly unique finish. Whether you’re a seasoned nail artist or a beginner, these tutorials will provide you with all the know-how you need for stunning, personalized nails.
How to Remove Gems Without Damaging Your Nails?
To remove gems, soak your nails in warm, soapy water to loosen the adhesive. Then, using a wooden cuticle stick, gently lift the gem off the nail. Avoid using sharp objects or excessive force to prevent damage.